Set up your own hive!
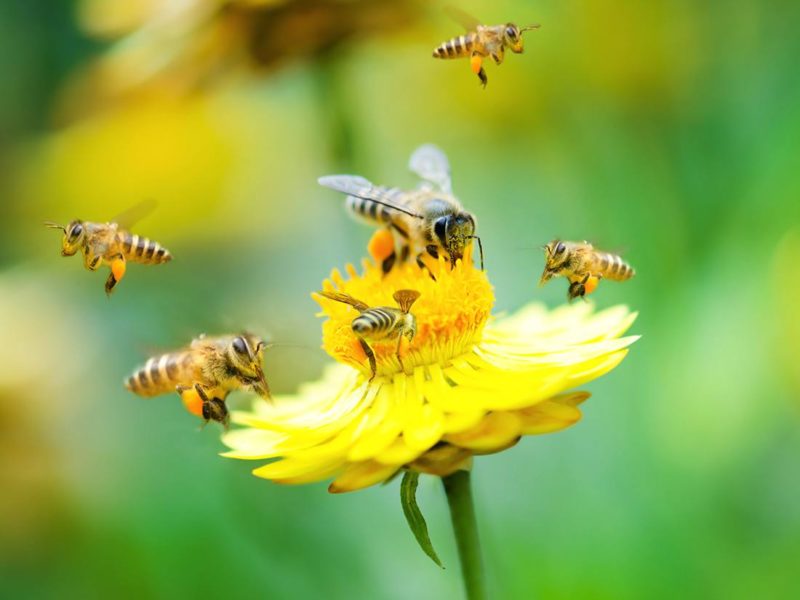
Backyard beekeeping has become much more common, with people around the country (and world) setting up hives near their homes. Not only are these pollinators fascinating, but they help local plants thrive, including flowers and fruit trees. Plus, they share their honey with us. Did you know that an average worker bee makes about 1/2 teaspoon of honey in her lifetime?
Getting started
When considering bringing bees into your yard, it’s important to do a little research first. Do you need a permit from your town or city? Are there zoning requirements in your area? Have you shared your plans with nearby neighbors? Then dive right in:
Step 1: Learn the basics. Join a local beekeeper’s association like this one that can provide additional support and resources as you establish your hive. Beginner’s classes are often offered at the start of the year, as people prepare to get their hives settled in the spring.
Step 2: Location, location, location. Sun, wind, flight path, ease of access and proximity to neighbors are all factors when determining the ideal location for your hive. Too much heat, or not enough, makes bees work harder — and all hives benefit from having early-morning sun exposure. Is there an out-of-the-way, dry and level spot in your yard that might be just right? Be mindful of the flight path bees take going in and out of the hive, too.
Step 3: Find the right equipment. You’ll need to inspect your hive periodically, depending on the time of year, and there are some basic tools to assist that process. A hive tool, bee brush, and protective gear (like gloves, a veil or full body suit) are all essential. Many people also use a smoker to subdue bees when accessing the hive. Beginner classes will help you sort out what’s needed and where to find the right equipment, or you can take a look at practical articles like this one.
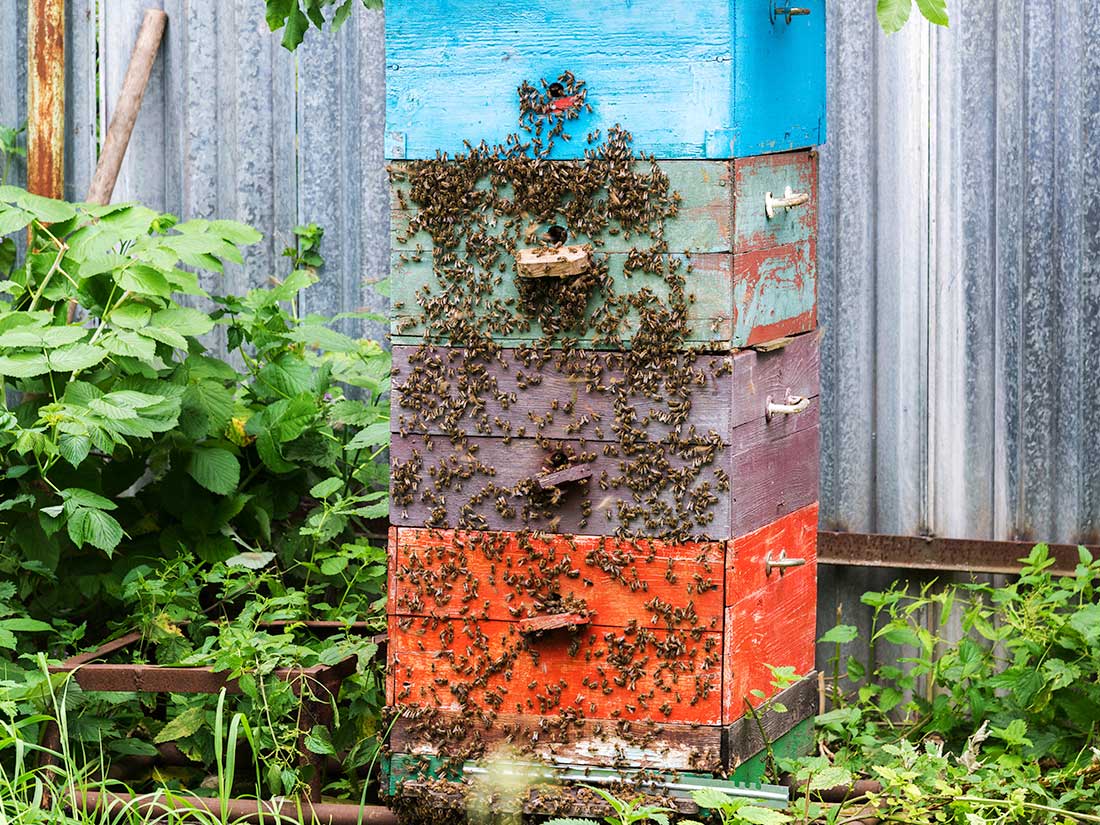
Step 4: Set up your hive. The commonly-used Langstroth hive — likely what comes to mind when you think of a beehive — consists of boxes stacked on top of each other. Frames are slotted inside each box, where bees build out the honey comb, tend to brood (baby bees) and keep their honey. Components of this hive include a stand, bottom board, brood box, frames, queen excluder, and more boxes or “supers.” See the video below for more details, or visit this website.
Step 5: Welcome your bees home. You can oder a package of bees through the mail, or purchase a “nuc” (nucleus hive with queen and brood) from a local beekeeper. The best way to learn about situating your new bees in the hive is from someone who has already done it. Reach out to a local beekeeping association, find a class or learn from tutorial videos like this one.
Keep learning!
Beekeeping is an adventure. From determining the best way to keep ants out, to harvesting honey for the first time or dusting for mites, you’ll keep learning as you go. Here are some resources to help you along the way:
Associations & clubs
- American Beekeeping Federation
- National Honey Board
- American Honey Producers Association
- State beekeeping organizations (American Honey Producers Association)
- Beekeeper clubs & associations by region (Beyond Pesticides)
Publications & articles
- The Beekeeper’s Bible (Steward, Tabori & Chang)
- Storeys Guide To Keeping Honey Bees (Sanford & Bonney)
- Beekeeping, the Practical Guide (Richard E. Bonney)
- Hive Management: A Seasonal Guide for Beekeepers (Richard E. Bonney)
- Bee Culture Magazine
- American Bee Journal
- “Beekeeping basics” (Mother Earth News)
Beekeeping supplies